
In June 2016 a new group emerged at the Boston Society of Architects dedicated to exploring the expanding role of digital fabrication and making in the AEC industry. Their mission was stated as follows:
MakeTank! supports the maker cultural revolution by exploring and advancing knowledge of making as an extension of architectural investigation through presentations, small group discussions and member-run training sessions with this friendly peer learning group.
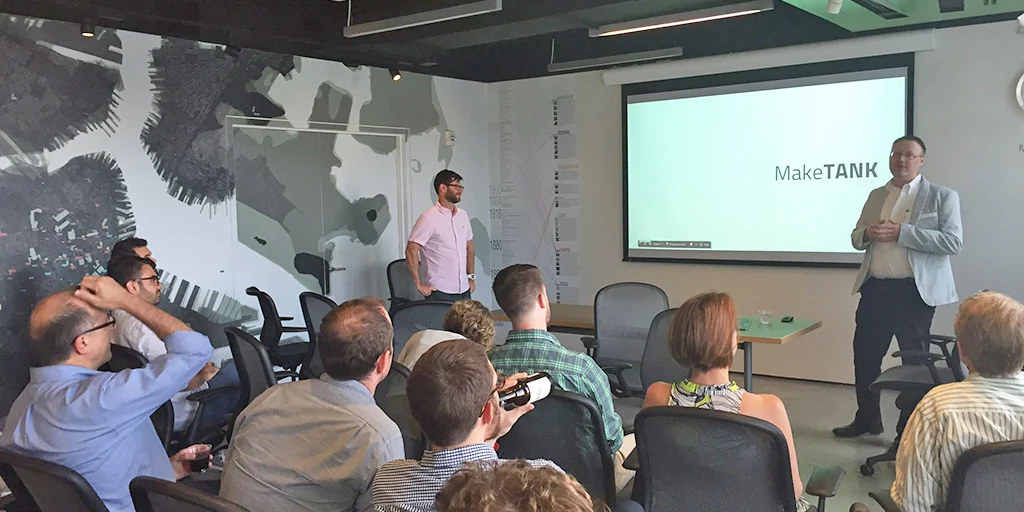
MakeTANK Launch event at the BSA Space. Image courtesy of Chris Hardy.
By the second meeting, MakeTANK had identified the perfect opportunity to bring together designers and makers from all over Boston -- design a pavilion for Architecture Boston eXpo 2016! The group dove into materials, patterning, and precedents. After several weeks of discussion and preliminary ideas, I was asked if there is any way Dynamo can contribute to the modeling and testing phase of the design.
FORM:
To be able to use Dynamo in any way to support the development of the pavilion, I first needed to gain a better understanding of the design concept. The team had decided to focus on a simple centenary arch shape for stability and ease of construction, with an emphasis on material and structural innovation. Early in the process, we realized that the use of any flexible material would create more propensity for bowing/buckling on the sides so strategies for a wider and sturdier base were necessary.
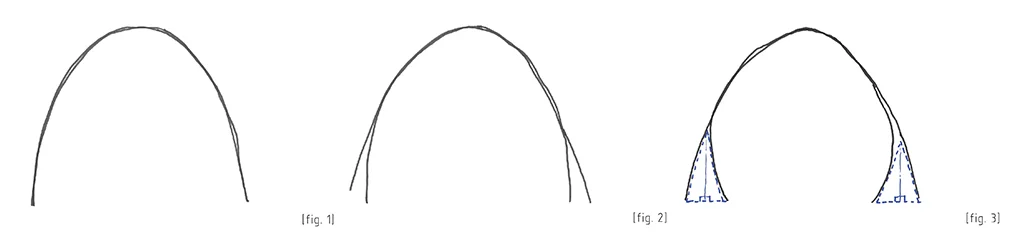
I began by producing a few hand sketches -- as I do so often in preparation for complex tasks in Dynamo -- before deciding that the quickest way to test out my design ideas was to create a sketch model out of paper. This allowed me to play with the proportions, scale, and think through the parametric constraints that eventually evolved into a Dynamo "sketch model" featuring a more elegant solution to stabilizing the base with tent-flap-like elements.


The Dynamo file for this "sketch model" can be downloaded HERE.

MATERIAL:
When the planning reached the consideration of materiality, Haik Tokatlyan and Steve Listwon from Jaywalk Studio came through with a brilliant idea for a rigid structure with flexible connection points that would allow for a gentle flexing of the pavilion humorously referred to at the "Jiggle Factor" -- or "J-factor" for short. They developed a few mock-ups of an assembly that fused wooden members with cast silicone nodes by pouring the pre-cured silicone through holes in the ends of the intersecting wood pieces then allowing it to cure into a hardened but pliable joint.

The flexible pavilion concept was a hit with the group and they set out to create more tests for the proper amount of flexibility, structural support, and steadfast adhesion to the wood. Finding the right durometer required mad-scientist experimentation with hardening agents, cure time, and temperature to strike the perfect balance. Ultimately Haik and Steve settled on using a urethane compound for its improved rigidity over silicone and the translucent red color was a nice bonus.

A casualty of the material testing process.
PATTERNING/STRUCTURE:
Another critical consideration to ensure structural whimsy and avoid a catastrophe was the orientation of the nodes around the structure. Several options were looked at, including: Arranging nodes in horizontal or vertical striations would provide stiffer rib segments. A gradient of increasing flexible nodes would introduce more jiggle towards the top of the pavilion while maintaining stability at the base. Variation in the stiffness of targeted joints would produce different movement throughout as well. Ultimately the team settled on an even distribution of nodes with a uniform durometer, leading to an emphasis on the chosen pattern for stability.

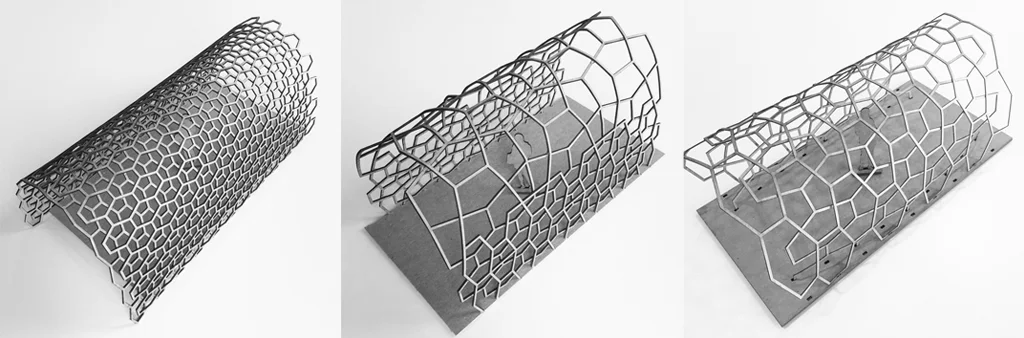
Many patterns were investigated in the effort to find equilibrium between aesthetics and structural integrity. Of all the triangle, rectangle, pentagon, and hexagon permutations, the classic Cairo pentagonal pattern was chosen as having an ideal balance of regularity and simplicity. Although at first the logic of the pattern seems to comprise of simple overlapping elongated hexagons, there is actually a precise mathematical relationship between the angles and shapes. Dynamo does not yet have any nodes or custom packages for Cairo patterning so I set out to develop a definition that could generate the pattern along any input surface. In the end I got something that resembled the pattern applied to a barrel vault but was not accurate enough for fabrication nor structural analysis.

Image courtesy of Ilaria Giardiello.

The Dynamo definitions for these pattern experiments can be downloaded HERE.
Once materials, pattern, and node distribution had been decided, an easy way to test variations was to create physical models using the laser cutter. This approach allowed for rapid prototyping and much more flexibility in testing different pattern combinations. The addition of scale figures helped the team get a sense of the space underneath the vault and imagine how the pattern would eventually look at human scale.
FABRICATION:
When it came time to begin refining the parts, the folks over at Sasaki and Jaywalk Studio used a CNC Router to develop different versions of the wood members and carve molds out of high-density plastic for casting the urethane nodes. The CNC was also used to cut smaller components as the assembly became more intricate and a parts catalog was eventually created to keep track of all the pieces.

Image courtesy of Felipe Francisco.

Image courtesy of Brad Prestbo.
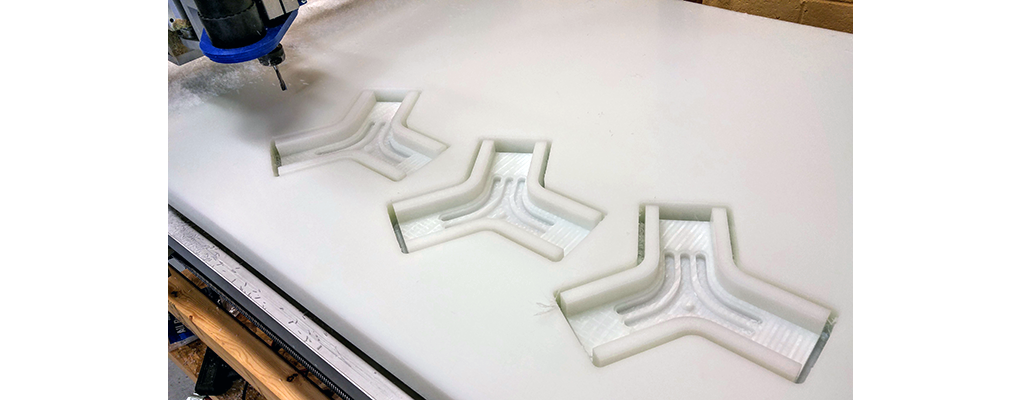
Image courtesy of Chris Winkler.
Early mock-ups helped inform material modifications and introduced the need for strategic reinforcement in certain portions. With a looming deadline, a smaller segment of the pavilion was constructed using finished pieces to test the resilience of the materials under the stress of extreme jiggle and make final tweaks.
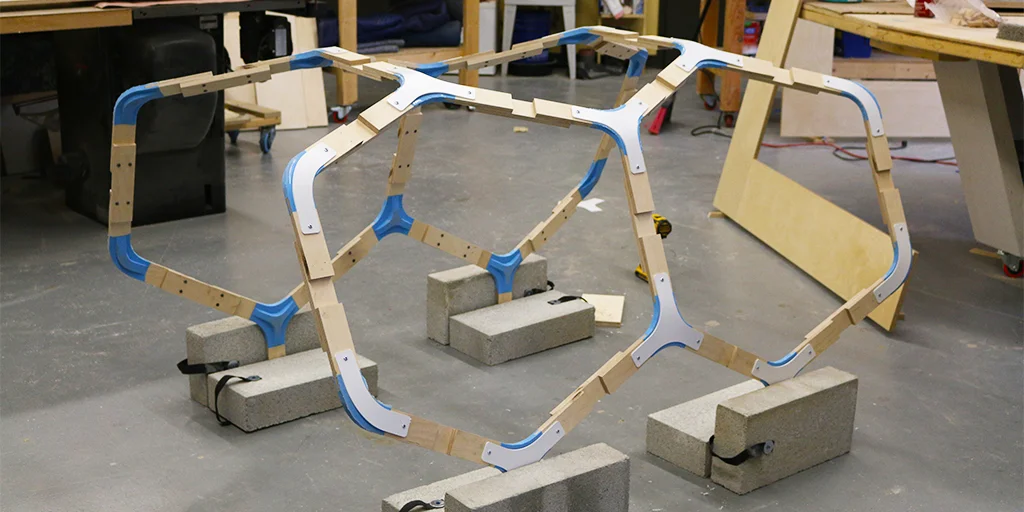
Image courtesy of Haik Tokatlyan.
Following the final testing phase, the team gathered in several evening and weekend sessions to assist in the casting, cutting, sanding, and small parts assembly processes.

Image courtesy of Brad Prestbo.

Image courtesy of Brad Prestbo.
In the week leading up to ABX, a few final meet-ups helped work out all the kinks with assembling the finalized components and choreographing the installation at the convention center. This was also the first time the team got see the full creation and test out the J-factor.

Image courtesy of Brad Prestbo.

Image courtesy of Sasaki.
The pavilion ultimately turned out to be an overwhelming success at ABX2016. With prime real estate near the entry to the Exhibit Hall, many attendees were instantly drawn to the bright pop of red color and tantalizing sway of the canopy. It served as a perfect venue for several talks and presentations throughout the week, including live demonstration of the casting process by Jaywalk studio and occasional presentations of the fabrication process from the MakeTANK team. Additional pedestals and pieces of furniture throughout the space further promoted methods of making and provided an inviting reprieve from the busy showroom floor.
I am very proud to have been a contributing member of this project and thoroughly enjoyed meeting and working alongside colleagues from all over the Greater Boston Area who share a passion for craft and design. Keep an eye out for more inspiring creations to emerge from MakeTANK in the future!
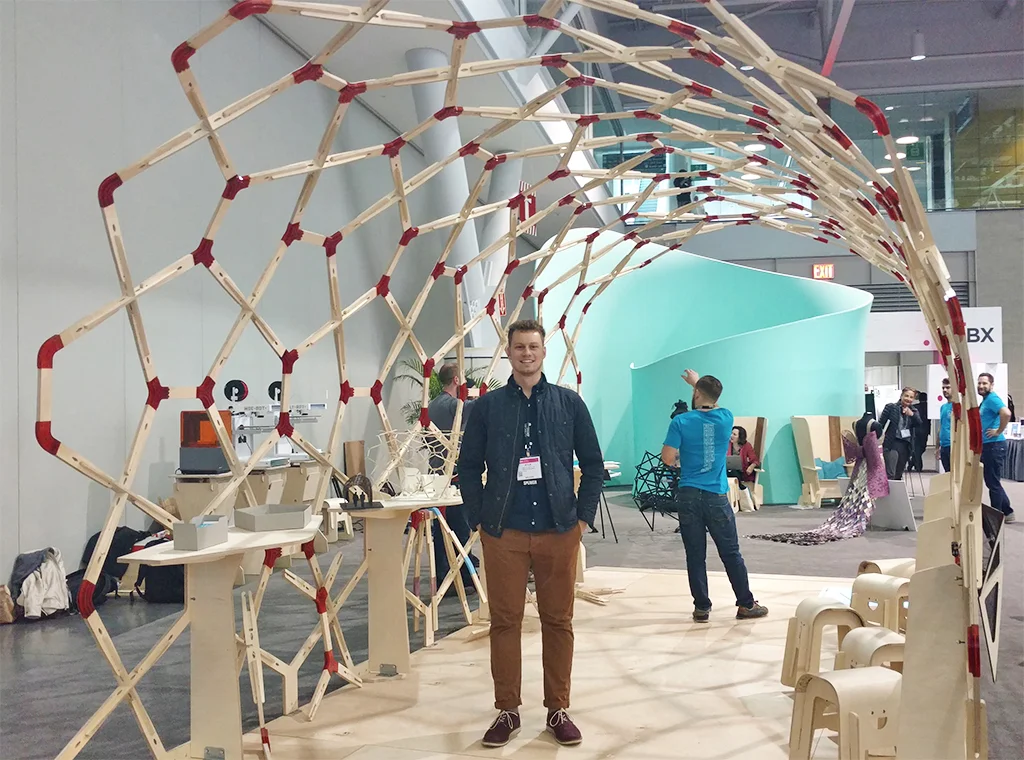
Image courtesy of Jessica Purcell, Shepley Bulfinch.
A BIG thank you goes out to Brad Prestbo and Ryan Salvas who founded MakeTANK group, especially to Brad for all of the organization and leadership during the pavilion project. This thing would have never been possible without all the generous contributions of local companies and individuals who donated money, materials, and countless hours of personal time. I would also like to thank my employer Shepley Bulfinch for graciously co-sponsoring the pavilion and providing funds to make it a reality.

For more information about the founding of MakeTANK at the Boston Society of Architects and the creative process that went into the realization of the pavilion, I highly recommend checking out the profile pieces written by the Neue Guild -- MAKETANK: PART 1 and MAKETANK: PART 2 (coming soon, stay tuned). While you're over there, you might as well create a user profile and join the community of talented designers and collaboration opportunities they regularly promote.